[NOTE]GDC 2015 Animating Ori and the Blind Forest
Although it’s an old speech but, it’s all about Ori and the Blind Forest‘s techniques! So it’s worthy of some notes on it.
(it’s worth noting that Moon Studio started this game with Unity 3!)
About Ori and the Blind Forest and its team
- Speaker is James Benson, the lead animator.
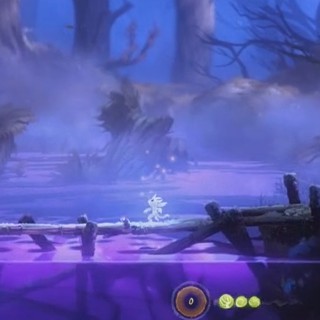
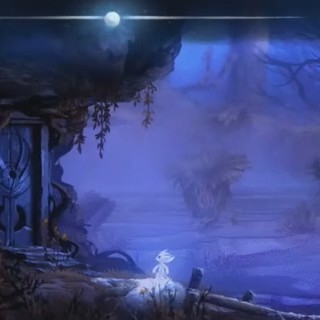
- Game type is 2D paint open world metroidvania.
- Ori is a very very content-heavy game.
- Team is tiny, no technical animator.
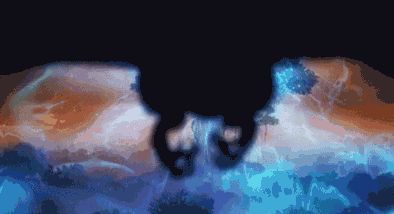
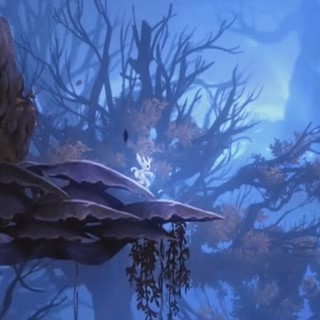
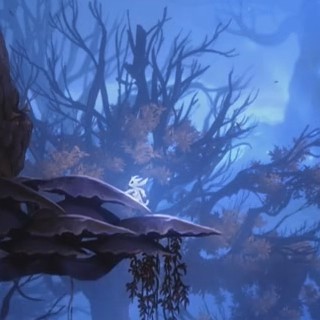
They want tone like miyazaki’s films, background is lush painting.
And some shots of the films contain 3D stuff, but makes people think it’s 2D.
The Ori team want to pull the same trick.
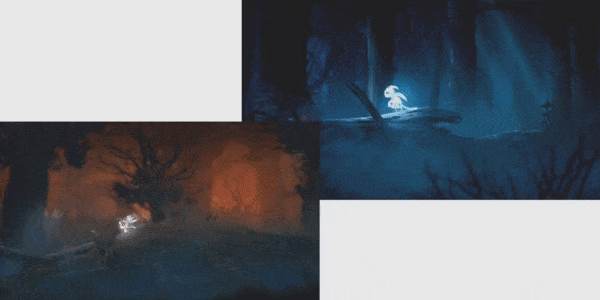
3D Ori (design concept)
- 100% self illum diffuse
- Use one texure, which is just his diffuse texture.
- No light on him.
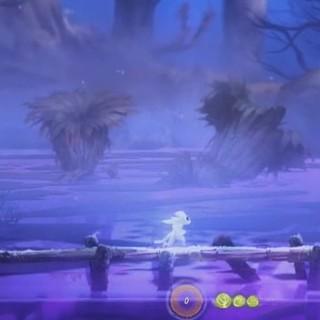
- Almost pure black/white
- Desgin all about silhouette
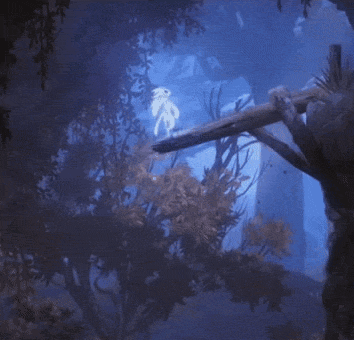
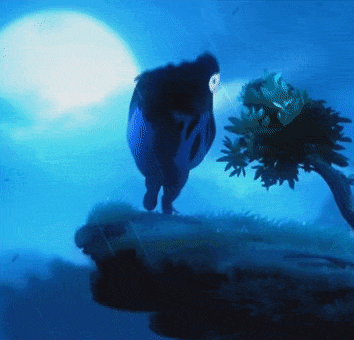
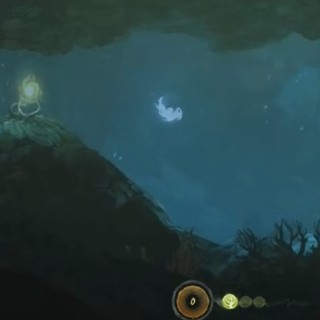
- The zoom of this game is like the meat boy level’s zoom, so these super detailed backgrounds have him just be pure white silhouette, which helps read him really really clearly at all time.
- So it’s important.
- Spring jointed legs/tail to aid animation goals
- There exist a few animation concessions in his design:
- Give him a tail so as to show the direction of travel when he is moving.
- Give him double jointed legs.
- It’s a platforming game.
- You can coil them up like a spring and have them bounce up.
- There exist a few animation concessions in his design:
- Ori is rigged by using 3ds max CAT system
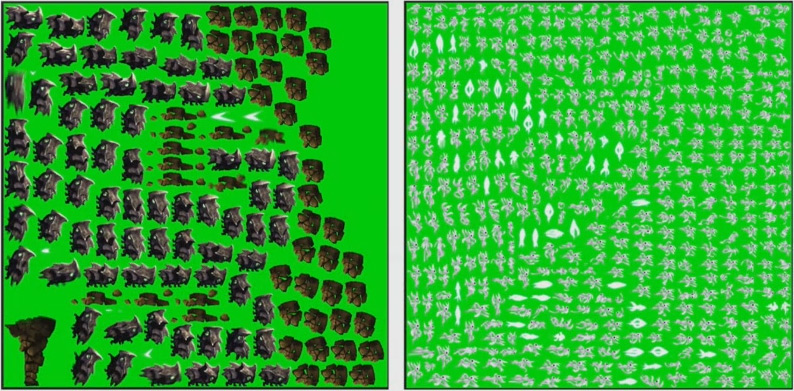
Ori rendering
Orthographic camera from the side
It’s important not to render all of these with perspective because:
- Not having any 3d lighting information.
- Not having any mathematical perspective information.
They are useful because having less of these details makes it easier to trick you into thinking that you’re not looking at a 3d asset and so that’s crucial.
- Motion blur baked
- It‘s essentially free for it’s already paying the memory for sprites.
Using the rendering style above, in engine it looks vaguely in most cases.
Baked effects
- Do a bunch of stuff to frames before starting making them into atlases
- When the owl coming out from camera, the blur blending out is actually the depth of field baked into sprites. It’s a relatively expensive thing to do in real time.
Altases
- Very memory efficient
Dynamic chroma key generation
- Sample all pixels in the various images thrown into the machine, and let’s assume blue is the least used color so we make a blue screen. But it also does really smart sampling like if a character has red eyes, it can tell that’s important and even if red is least used color in all those images, it’ll ensure not to make eyes transparent.
(The speech doesn’t give details and intention of using this kind of chroma key system. However, I suspect that either limitation of early Unity version or memory pressure, or maybe both of them force Ori team to turn to chroma key technique instead of the conventional alpha texture. Since one extra alpha channel will cause an image size increased 1/4, considering the content-heavy property of this game, the final memory taken by alpha channel will be huge. Consequently, using the chroma key to handle transparent issue of sprite may spare tons of GPU memory.)
- Lots of auto detection/bug prevention
- Save artists’ time. (I hope it give more technical details but..whatever).
Metadata
Rig can be exported with frames
- We’re obviously making sprites but the assets are all 3d assets (have all the bones, etc.).
Can apply root motion to all the sprites because it’s just 3d.
- Root motion makes cutscenes and script events very very easy.
The leaf tumbling around the wind in the opening scene is a relatively complicated shot to do but it was really easy because the leaf is just using the root motion from 3d.
In engine effects
- Incredibly powerful shader framework
- A super clever example: you can put an additive multiply mask on one side of the character to simulate something like a big moon behind it all over, and if the sprite flips, the light still keeps in that direction. So you can fake real-time lighting in your scene.
Pros of this pipeline
Perfect, non-uniform scaling of bones, with no overhead
- Squash and strecth
- Here, when ori hits the ground he becomes like 10 pixels. And when ori does the spins, tail becomes like three times its normal length for a few frames.
- Cheat perspective
- for 2D sometimes you don’t want to show like both arms when character is running, you can shrink the arm down to a little nub. You can see the right view is just a horrible show.
- A million tiny details
- breathing, tail get longer on jump, pupils expand, etc.
Control
- Every frame is yours (for good or ill)
- Interpolation ruins many animations
- No such thing as playblasts v.s. ‘engine result’
Transition system
(I will not expand this part, because now Unity has developed a robust built-in animation transition system.)
Added benefits
- Free high quality object motion blur/Dof
- Zero compression of any motion on any bone
- Infinite polycount limit, Infinite bone limit
- No texture limits on character
- Treat your assets like film
- Ahatever you’re doing is just offline rendering.
- So you can have whatever polys you want, like 10k.
- If you are not clever to do lots of things like fur or fluid simulation, but you just how to do it, then you can bake them into sprites and all works.
- Ahatever you’re doing is just offline rendering.
Animation syncing
- Animation syncing is massively simplified
- Something as simple as opening a door can be a living nightmare in 3d.
Time saved
- There is no such thing as ‘check how it looks ingame’
- It’s amazing how much time is lost making 3d games just working out what the hell your animation is doing inside the engine.
Cons of this pipeline
You have a big cost in 1 area: Whatever great stuff you get for free in the sprite, you are paying for them with texture memory!
Iteration on character look
- You have to re-render every frame if you change the character model/texture.
- Since it’s 3D asset, this could be a batch script, but still a Huge pain. (Obviously much worse with ‘true’ 2d)
- It also costs programming time, and may cause bugs.
Gameplay IK solutions
- You can’t adjust feet to ground slope via IK
- Can’t create gameplay that relies on repositioning hands (e.g. LA Noire item inspection)
- Can’t dynamically change character model
- If you want to say that there’s an upgrade when he gets cool new boots, that’s not going to happen because you’d have to double the memory of the entire game by having a boots version of the character.
No Blend Trees
- Can’t dynamically blend Walk/Jog/Run
- Can’t make characters head track things
Rendering time issue
- Rendering 25 256x256 frames is nothing
- Rendering 700 2Kx2K is bad, and slows you down
Did any of this actually stop us?
Almost everything can be overcome with design and content.
Foot placement
- Character is just rotated to the normal of the surface that he’s on
- Do a version of the idle where he’s looking up slope and looking down slope
- It’s relatively simple except that then you have to do all the transitions, but if you like making content and if you have tools that make it very easy to make content like we did, you can do some of this fairly easily.
- It’s pretty robust and basically there’s no surface in the game that ori can’t stand on perfectly.
Blend Trees
Idle-Walk-Run problem
- All the animations that affects are rendered at four times the normal frame rate.
- Then dynamically speed up and slow down the animation based on where your (joy)stick is.
- So 120 FPS version of the walk is playing at the threshold where you’re doing the fastest version of the walk and then we slowed it down to 30 if you’re doing the tiniest bit of stick, and then when you hit the threshold from the 120 walk to the 30 jog we just have a transition that covers it.
It‘s not bulletproof but it does the job really really well and isn’t a big deal.
Circumvent blender issue for swimming
We want to do a 360 degree thing like Rayman Origins:
- Prepare a swimming idle going horizontally.
- Then additively make 11 versions with his back twisting concave, 11 versions twisting convex.
- The engine simultaneously runs all of those versions all the time.
- And depending on the angle you’re going to and coming from, the programming magic just dynamically picks through all these different animations.
Looking at targets
- Just content issue again
- Version of watch 145 degrees
- Version of looking upwards
- Version of looking at background
- …
Personal feeling
It’s extraordinary to see a team customizes almost every part of the development pipeline and turns the game-making into a film-making. Perhaps helping artists to create freely without concerning about technical limitation is much more important than we ever think.
All images used in this post are owned by Moon Studio.